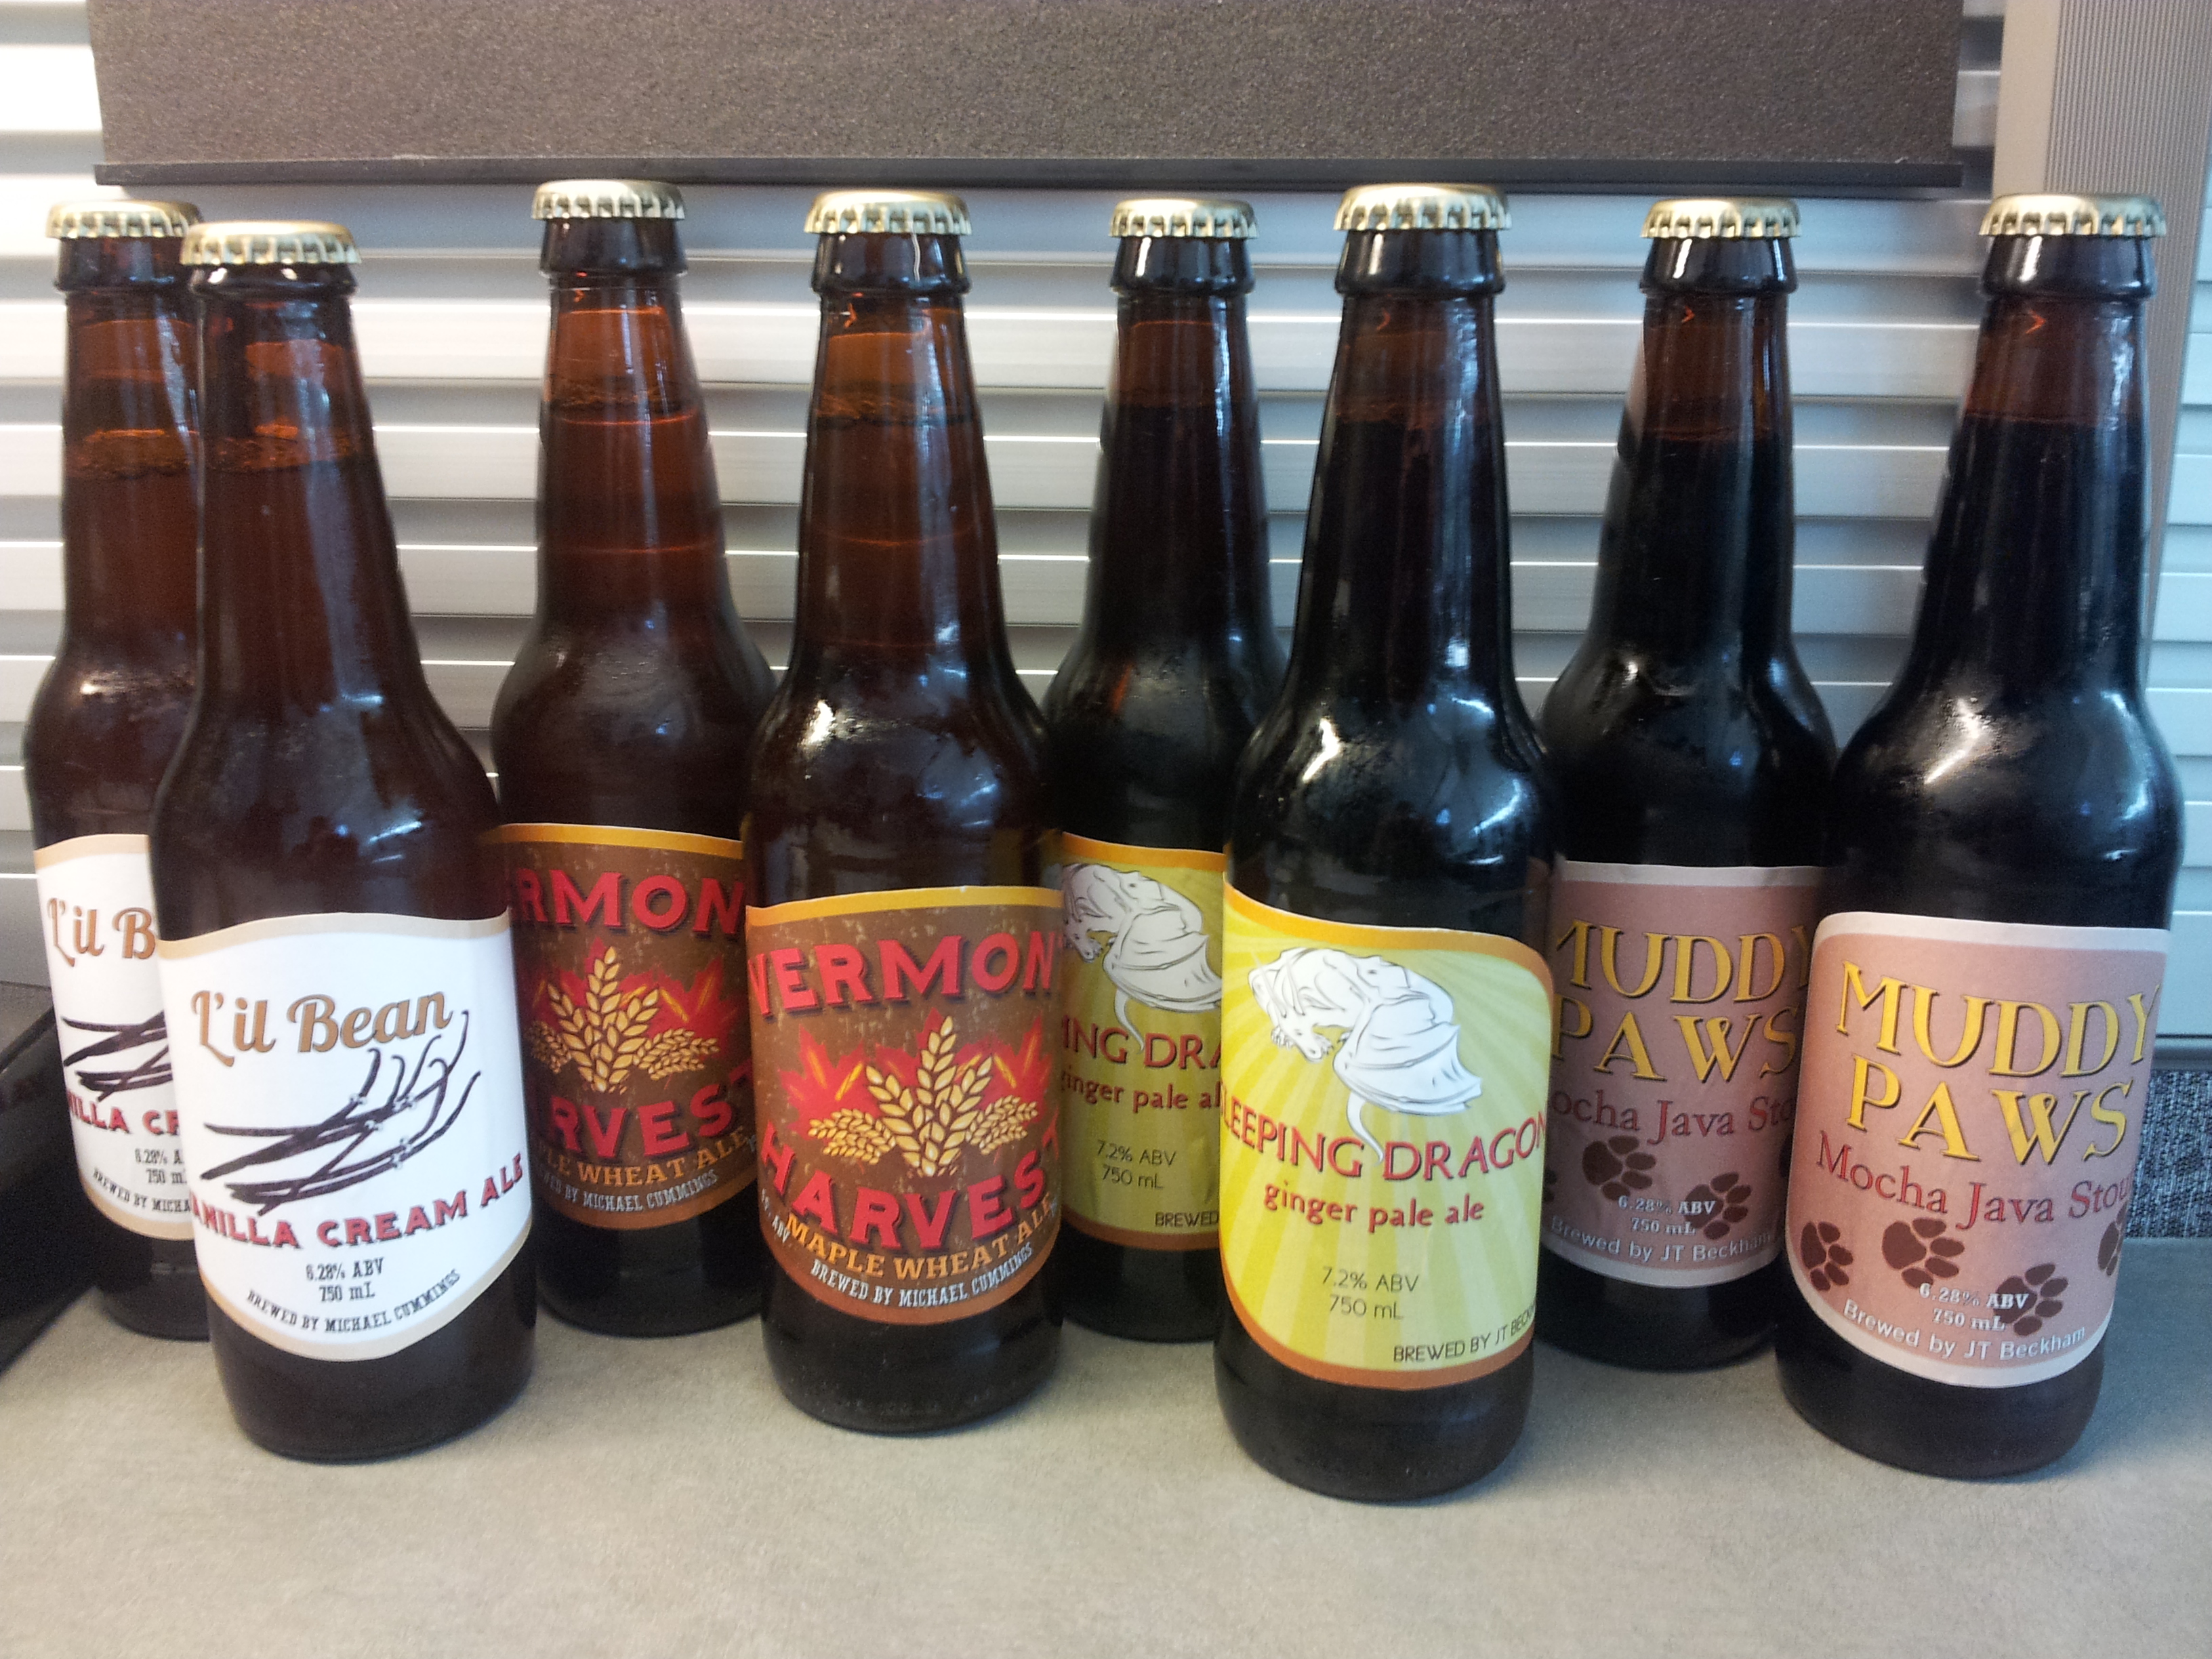
Here are our 4 contest entries for the inaugural Southern Brewer’s Challenge sponsored by Taco Mac and Atlanta Brewing Company.
Hop Yours!
AHA Club – Brewing Our Way!

Counter-pressure bottle filler
Just like the immersion chiller, I decided to build a counter-pressure bottle filler, rather than buy one. The main thing I wanted was all stainless-steel parts, no brass and nothing containing lead.
Parts arrive…
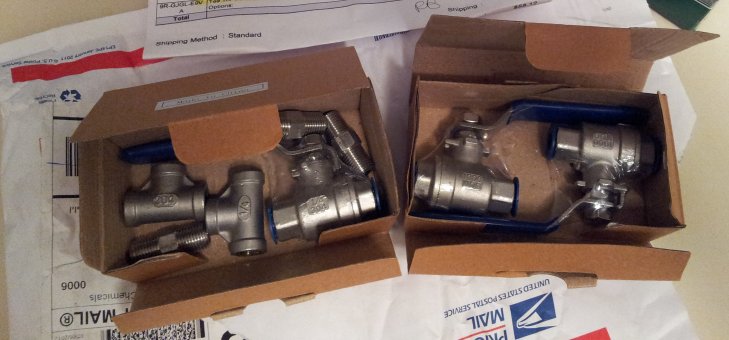
Some assembly required, but nothing difficult.
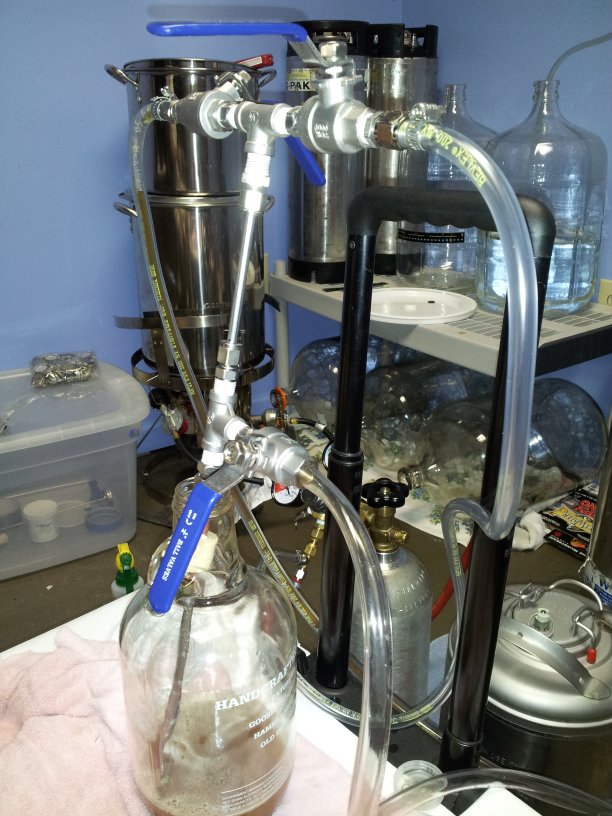
Here’s the finished counter-pressure chiller. Mine is all stainless-steel and I saved about $40 building vs. buying.

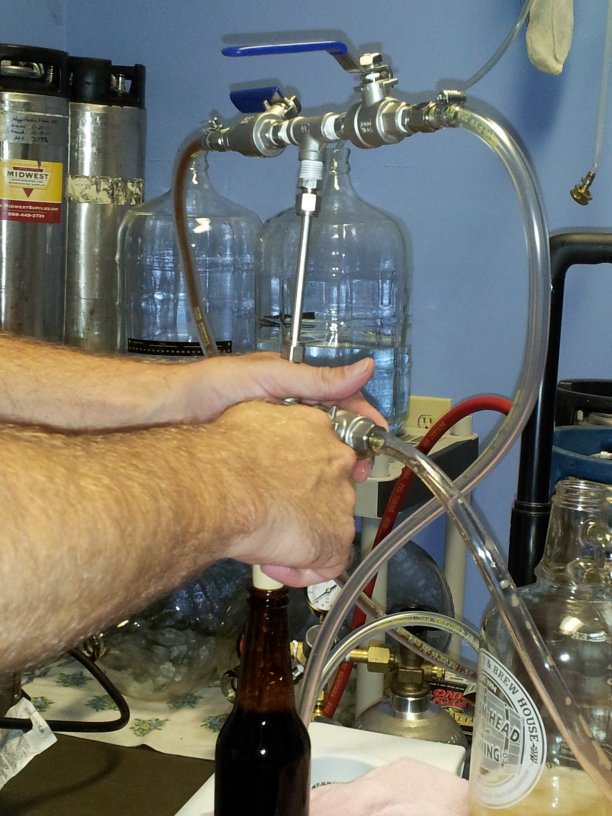
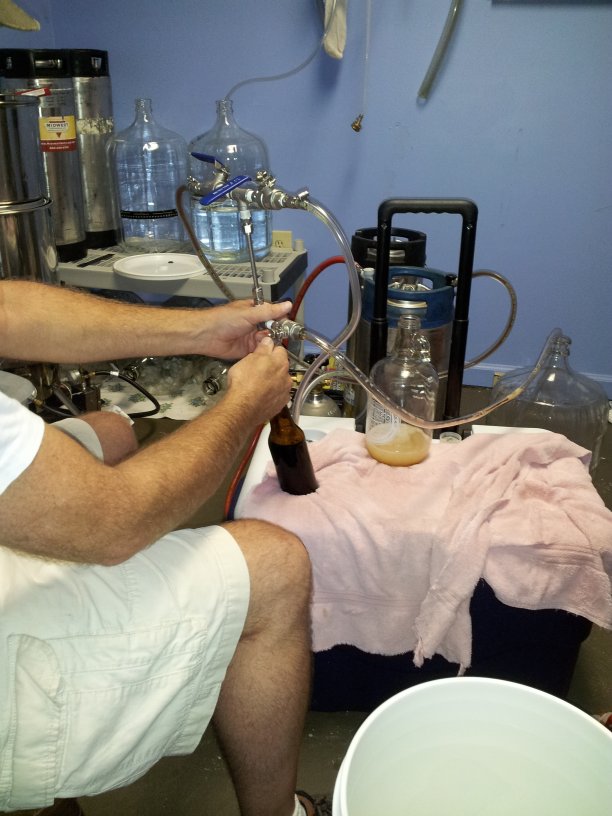
Here are a few pictures of the counter-pressure filler in-use. It works very well.
Brew Day – GPA
Pictures and text forthcoming – we promise!!
Kegging the Cream Ale
Wish there were more and exciting pictures, but here’s the only one we took during kegging.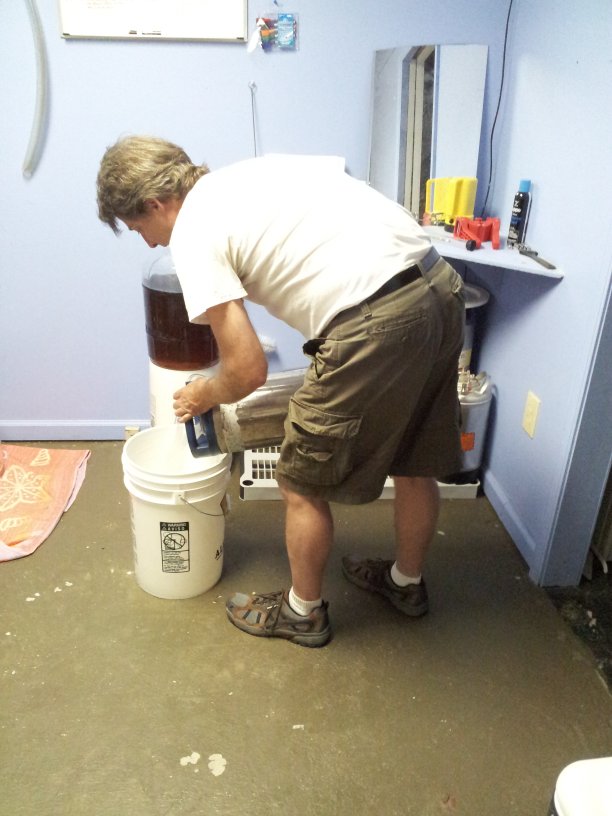
Nice work, JT!
Brew Day – The Maple Wheat Experiment – Part II (5-gallon)
Pictures and text to come.
Brew Day – Vanilla Cream Ale
It was time for something new…something light…something both refreshing and relaxing…and something for summer. It was time for a vanilla cream ale.
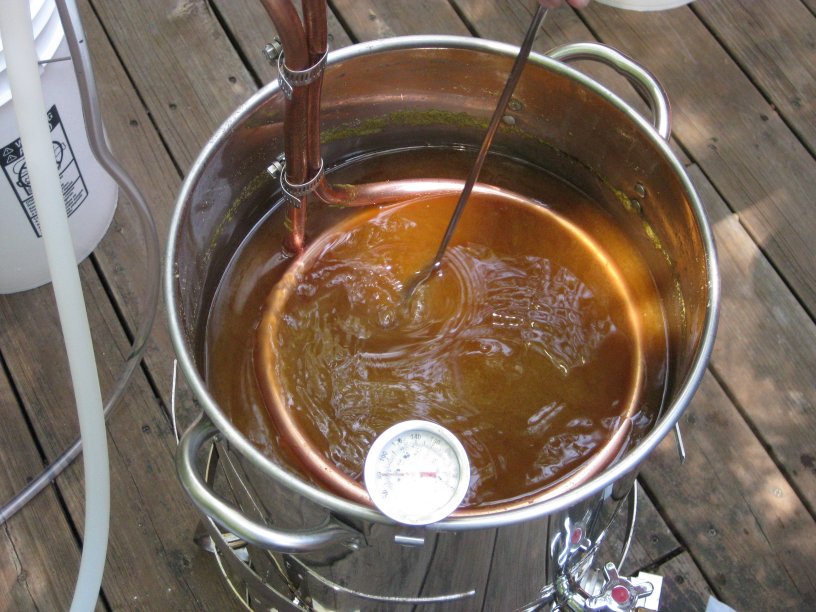
JT boiled up the water. Soon we added grain. Then we kept a mighty boil for an hour as the worty-goodness and hoppy smell filled the air. The color was perfect.
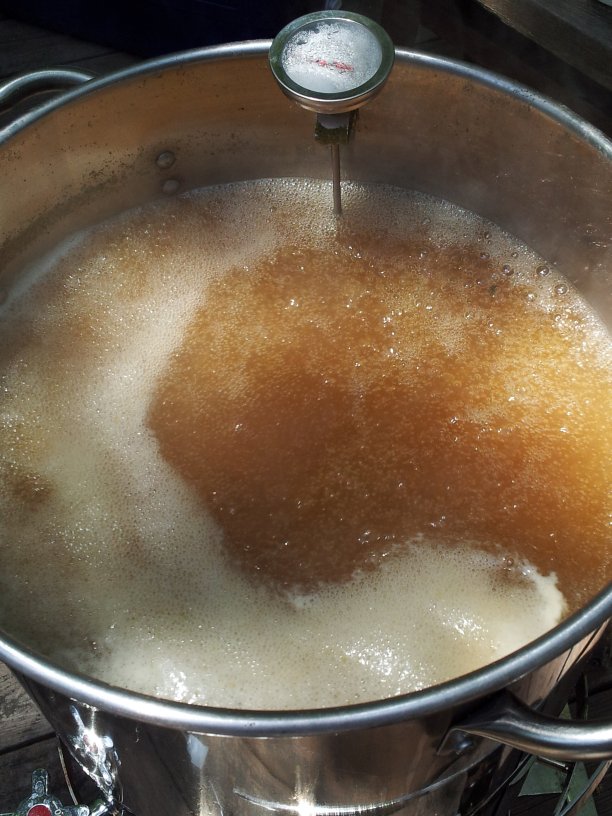
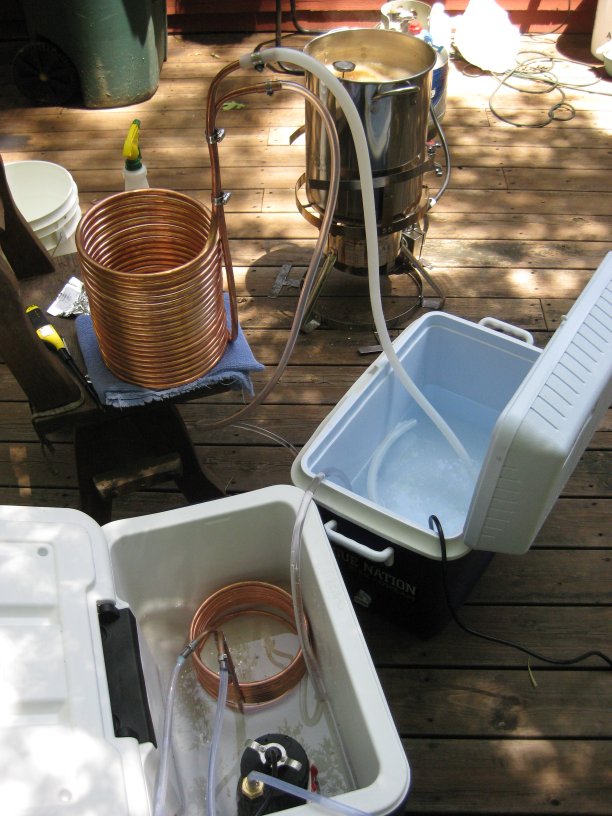
We experimented with a double immersion chiller in an ice bath for the cool down. It seemed to speed up the chilling process greatly.
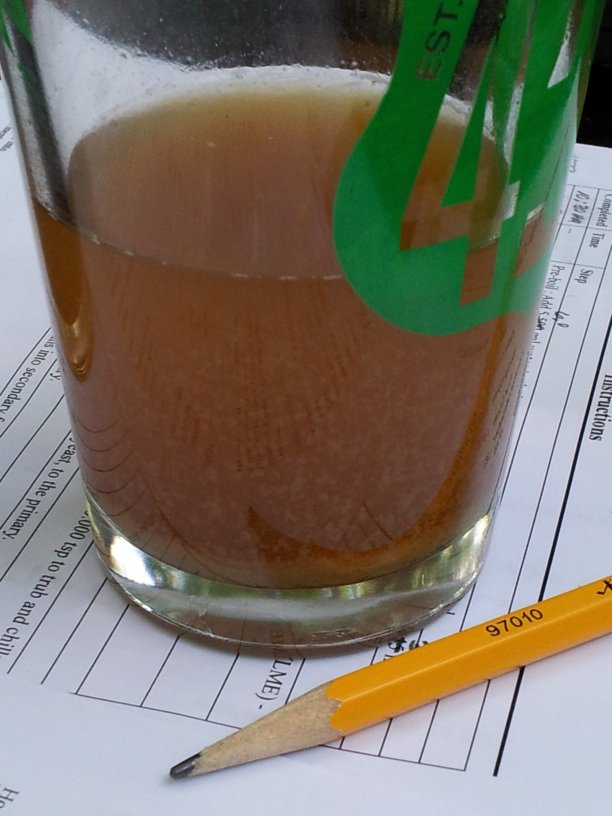
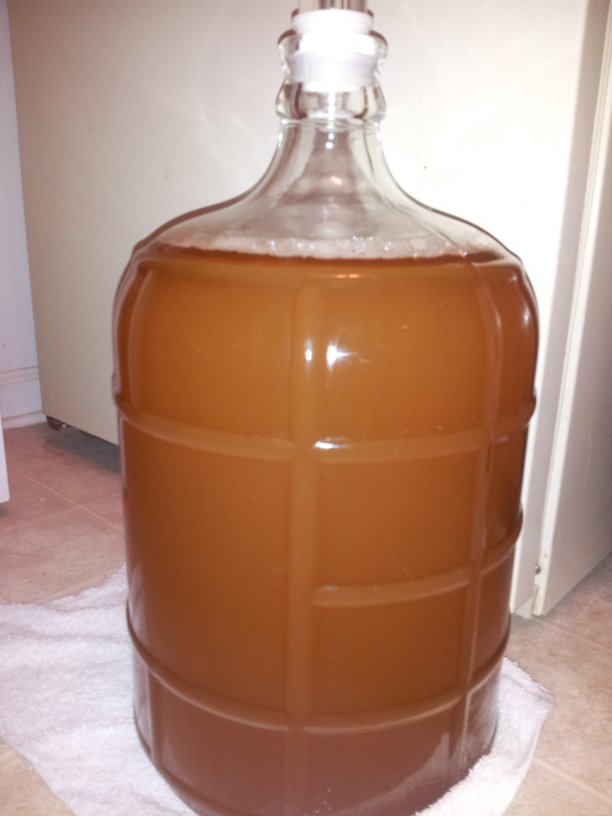
Here’s the final wort before we pitched the yeast.
Brew Day – The Maple Wheat Experiment
We brewed a 3-gallon batch of a wheat beer with a hint of maple. Yessir, we done did.
I wanted to create a refreshing wheat beer, but with a hint of something other than citrus, which is what all the craft wheat beers seem to have. A friend suggested maple and soon an experimental recipe was created.
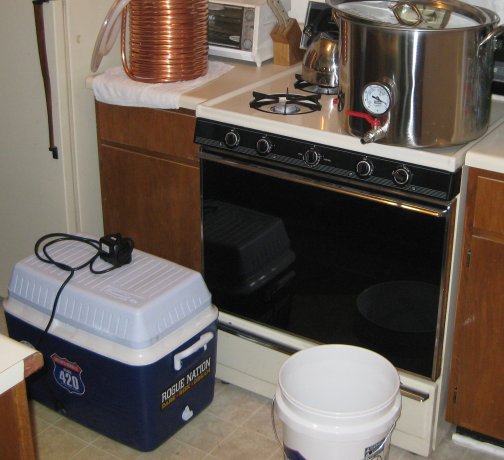
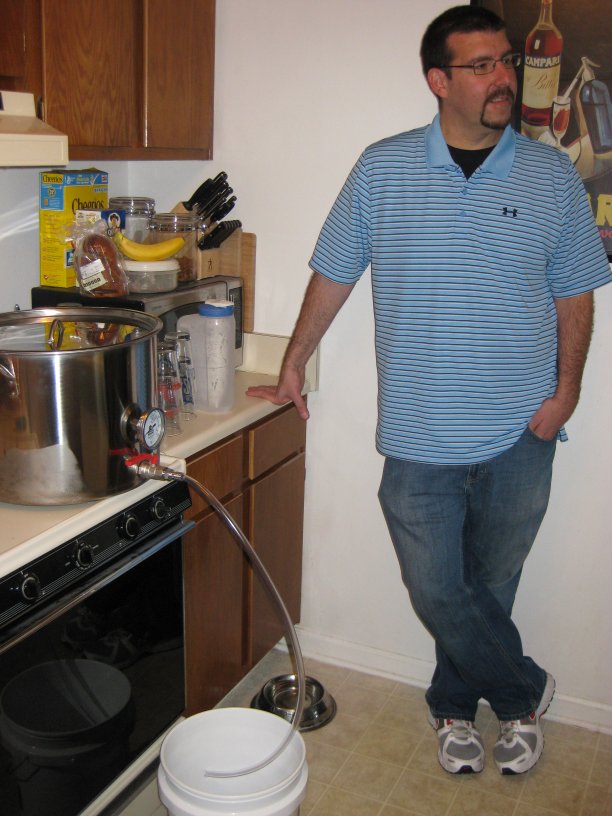
Had to start off with a picture of the brewing setup…
Here’s a picture of Eric, while we were waiting for the wort to boil…
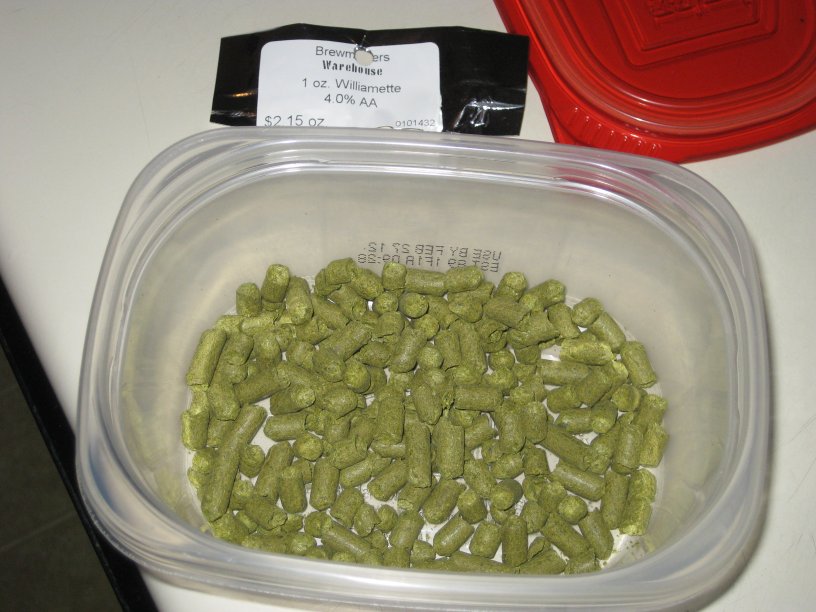
 …then we added the hop pellets…
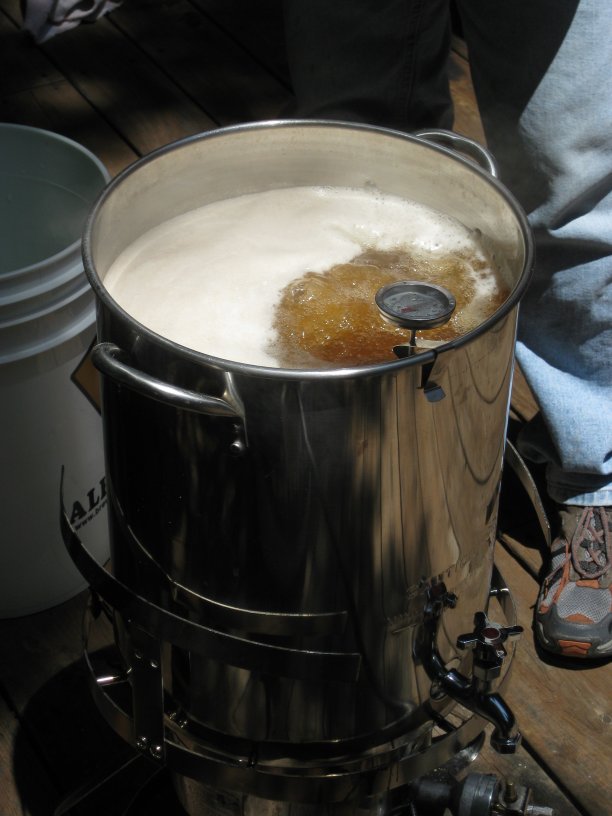
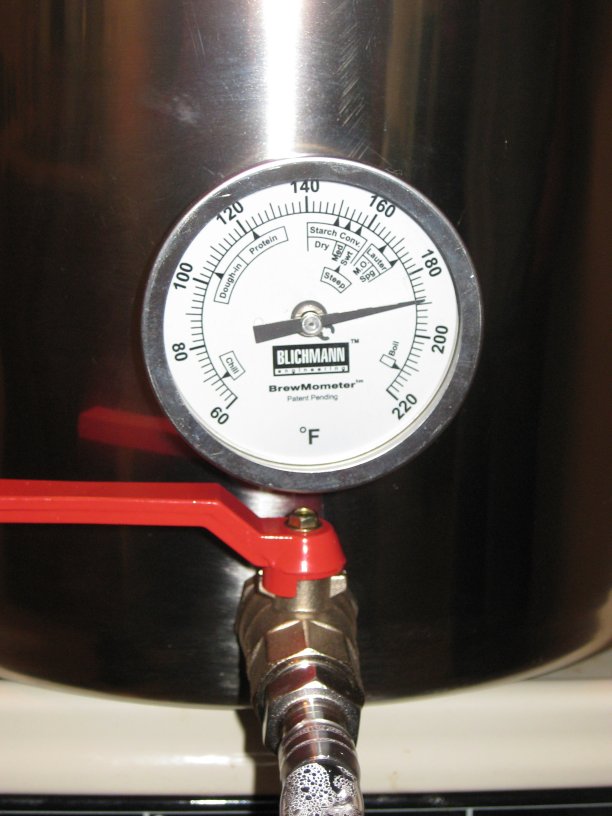
Then we added the chiller to the boil (to sterilize it)…and then to chill the wort to the yeast pitching temperature range.

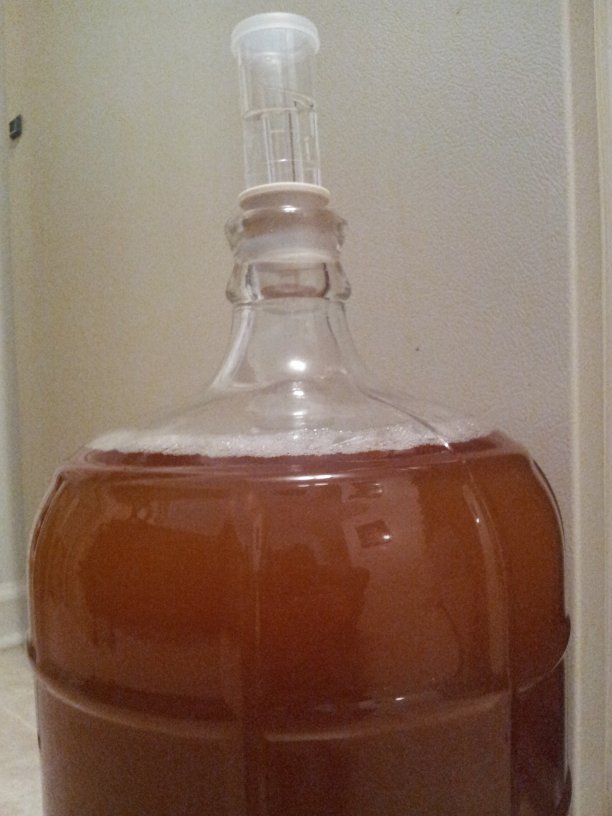
The final product. Now we wait.
Chiller build
Rather than purchase a copper immersion chiller, I set out to build one. I figured I could build one to my specifications for about two-thirds of the cost of a pre-made one. I purchased a 50-foot spool of 1/2″OD (3/8″ ID) copper refrigeration tubing from Lowe’s for about $85. [Note: copper prices were near their peak and the price has since dropped].
Using a 5-gallon corny keg (perfect size), I wrapped the coil tightly around keeping about a foot from each end uncoiled.
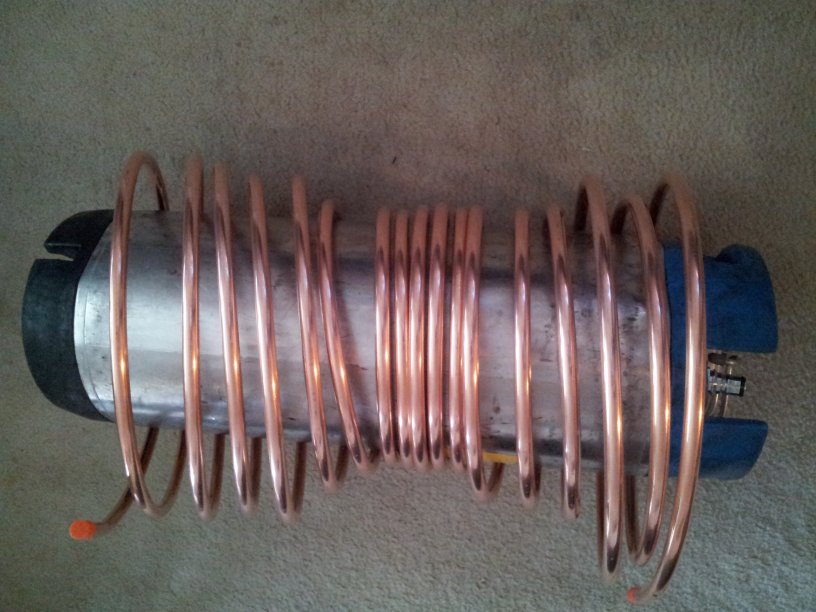

I then slipped the keg out and had a finished coil.
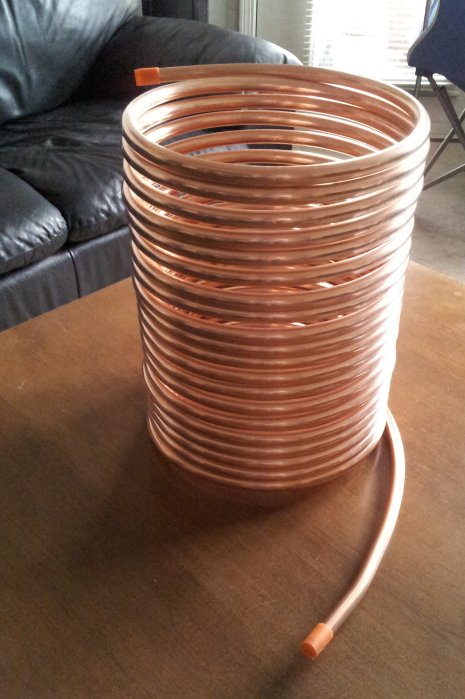
Next I had to bend the ends to form the chiller input and output.
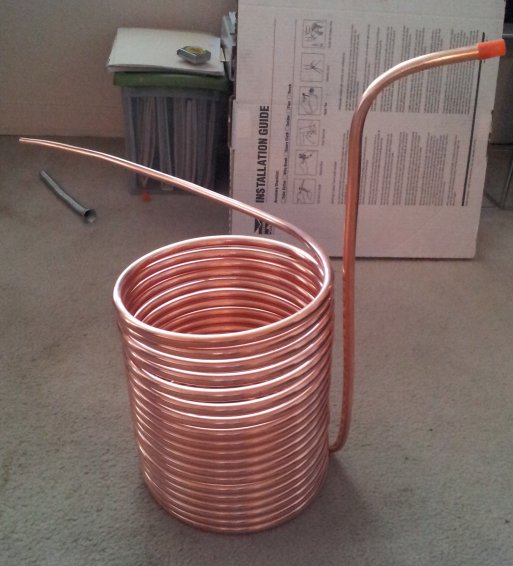
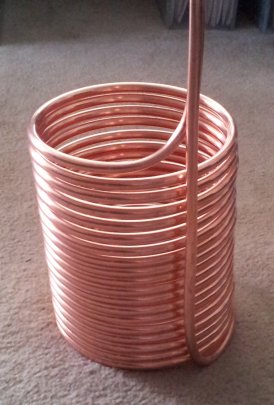
Finished coil. All I had to do to complete this chiller was to add high temperature hosing and clamps. The total cost of my chiller was just under $110. If you can find a pre-made chiller made from 50′ of 1/2″ copper for under $130, I’d like to see it. And it works like a champ!